Running Three.JS in VS Code Webview extension
When you are developing VS Code extension, you can use webview to display some content in the editor. You can use webview to display some HTML, CSS and JavaScript. You can also use webview to display some 3D content using Three.JS.
In this post, I will show you how to use webview to display 3D content using Three.JS.
Creating a webview
To create a webview, you need to create a webview panel. You can do that by calling the createWebviewPanel method on the vscode object:
import * as vscode from 'vscode';

// ...

const panel = vscode.window.createWebviewPanel(
  'threejs',
  'Three.JS',
  vscode.ViewColumn.One,
  {
    enableScripts: true,
  }
);
The first argument is the type of the webview. The second argument is the title of the webview. The third argument is the column where the webview should be displayed. The fourth argument is the options for the webview. In this case, we are enabling scripts in the webview.
Loading Three.JS
To load Three.JS in the webview, you need to add a script tag to the webview HTML:
panel.webview.html = `
  <html>
    <head>
      <script src="https://cdnjs.cloudflare.com/ajax/libs/three.js/110/three.min.js"></script>
    </head>
    <body>
    </body>
  </html>
`;
Rendering a scene
To render a scene, you need to create a scene, a camera and a renderer. You also need to add the renderer to the webview HTML:
panel.webview.html = `
  <html>
    <head>
      <script src="https://cdnjs.cloudflare.com/ajax/libs/three.js/110/three.min.js"></script>
    </head>
    <body>
      <div id="threejs"></div>
      <script>
        const scene = new THREE.Scene();
        const camera = new THREE.PerspectiveCamera(75, 1, 0.1, 1000);
        const renderer = new THREE.WebGLRenderer();
      </script>
    </body>
  </html>
`;
Then you need to add the renderer to the webview HTML:
panel.webview.html = `
  <html>
    <head>
      <script src="https://cdnjs.cloudflare.com/ajax/libs/three.js/110/three.min.js"></script>
    </head>
    <body>
      <div id="threejs"></div>
      <script>
        const scene = new THREE.Scene();
        const camera = new THREE.PerspectiveCamera(75, 1, 0.1, 1000);
        const renderer = new THREE.WebGLRenderer();
        document.getElementById('threejs').appendChild(renderer.domElement);
      </script>
    </body>
  </html>
`;
Adding a cube
To add a cube to the scene, you need to create a cube and add it to the scene:
const geometry = new THREE.BoxGeometry();
const material = new THREE.MeshBasicMaterial({ color: 0x00ff00 });
const cube = new THREE.Mesh(geometry, material);
scene.add(cube);
Rendering the scene
To render the scene, you need to call the render method on the renderer:
renderer.render(scene, camera);
However, this will only render the scene once.
Adding an animation
To add an animation, you need to call the render method on the renderer in a loop:
function animate() {
  requestAnimationFrame(animate);
  renderer.render(scene, camera);
}
animate();
Adding a camera
To add a camera, you need to set the position of the camera:
camera.position.z = 5;
Adding a light
To add a light, you need to create a light and add it to the scene:
const light = new THREE.PointLight(0xffffff, 1, 100);

light.position.set(0, 0, 0);

scene.add(light);
Resizing the rendered
Resize once
To resize the rendered once, you need to set the size of the renderer:
renderer.setSize(window.innerWidth, window.innerHeight);
Resize on window resize
To add a resize listener, you need to add an event listener to the window:
window.addEventListener('resize', onWindowResize, false);
Then you need to create the onWindowResize function:
function onWindowResize() {
  camera.aspect = window.innerWidth / window.innerHeight;
  camera.updateProjectionMatrix();
  renderer.setSize(window.innerWidth, window.innerHeight);
}
Adding a rotation animation
To add a rotation animation, you need to add a requestAnimationFrame call to the animate function:
function animate() {
  requestAnimationFrame(animate);
  cube.rotation.x += 0.01;
  cube.rotation.y += 0.01;
  renderer.render(scene, camera);
}
Now your final code should look like this:
import * as vscode from 'vscode';

export function activate(context: vscode.ExtensionContext) {
  const panel = vscode.window.createWebviewPanel(
    'threejs',
    'Three.JS',
    vscode.ViewColumn.One,
    {
      enableScripts: true,
    }
  );

  panel.webview.html = `
    <html>
      <head>
        <script src="https://cdnjs.cloudflare.com/ajax/libs/three.js/110/three.min.js"></script>
      </head>
      <body>
        <div id="threejs"></div>
        <script>
          const scene = new THREE.Scene();
          const camera = new THREE.PerspectiveCamera(75, 1, 0.1, 1000);
          const renderer = new THREE.WebGLRenderer();
          document.getElementById('threejs').appendChild(renderer.domElement);
          const geometry = new THREE.BoxGeometry();
          const material = new THREE.MeshBasicMaterial({ color: 0x00ff00 });
          const cube = new THREE.Mesh(geometry, material);
          scene.add(cube);
          camera.position.z = 5;
          const light = new THREE.PointLight(0xffffff, 1, 100);
          light.position.set(0, 0, 0);
          scene.add(light);
          function animate() {
            requestAnimationFrame(animate);
            cube.rotation.x += 0.01;
            cube.rotation.y += 0.01;
            renderer.render(scene, camera);
          }
          animate();
          window.addEventListener('resize', onWindowResize, false);
          function onWindowResize() {
            camera.aspect = window.innerWidth / window.innerHeight;
            camera.updateProjectionMatrix();
            renderer.setSize(window.innerWidth, window.innerHeight);
          }
        </script>
      </body>
    </html>
  `;
}

export function deactivate() {}
Done
That's it.
Disclaimer
This page is made with help of Github Copilot and my minimal knowledge of Three.JS. I am not a 3D expert. If you have any suggestions, please let me know in the comments.
I am going to test this code now. I will let you know if it works.
Later I would do a video how this page was generated without me opening any documentation outside of VS Code.
Update
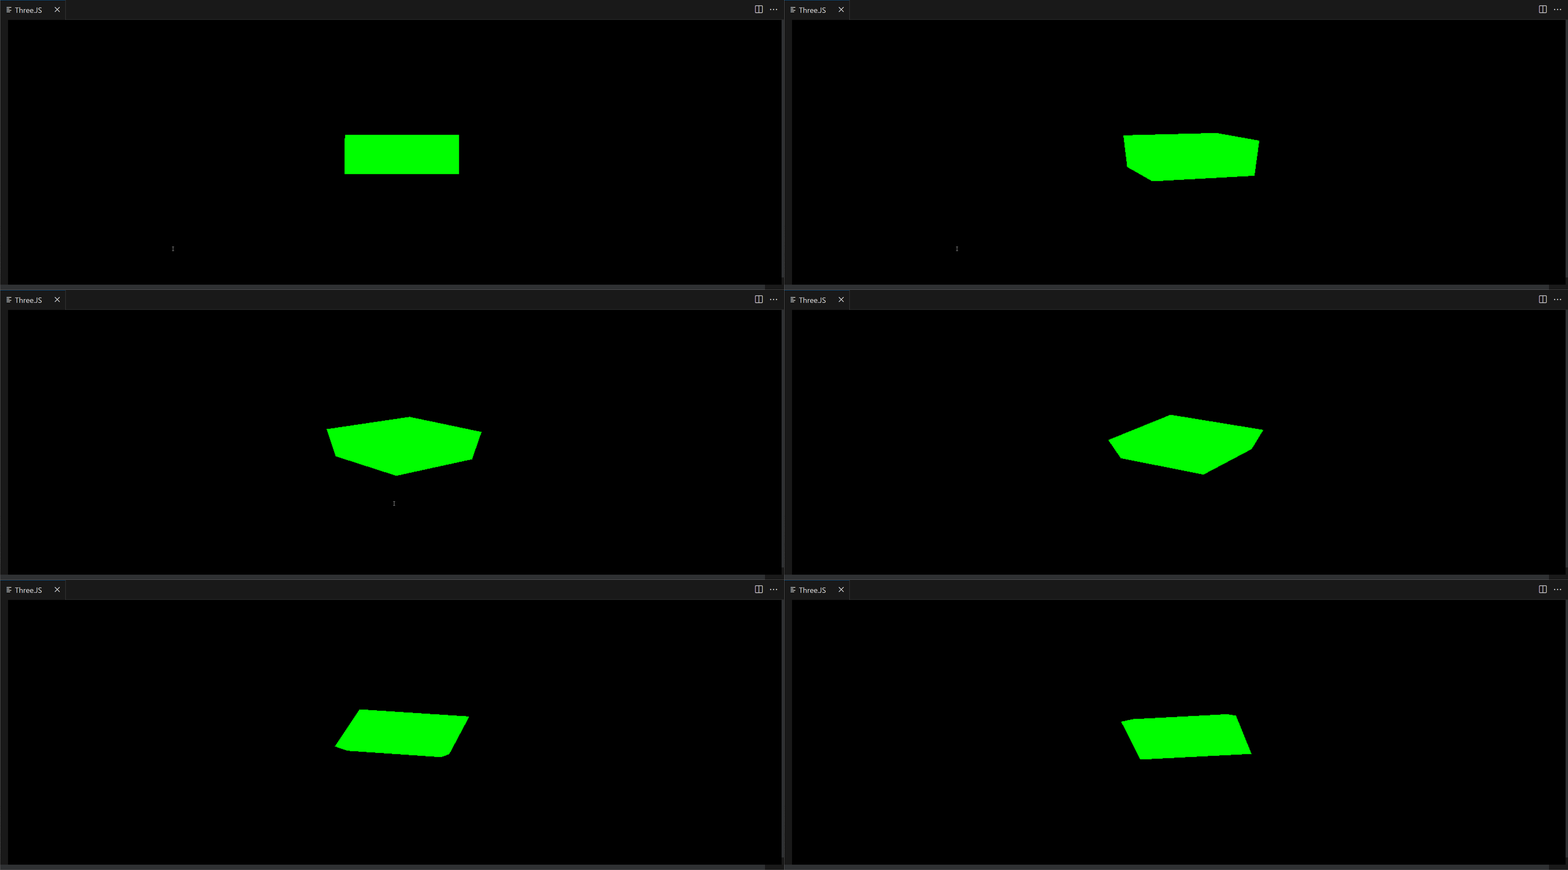
I have tested the code and it surprisingly works, I had to do some minor changes so that renderer resized right away as well as on resize event.
You can see the result in the gif below:

